Friday we got hit with Isaac and had CONSTANT rain. It was so so nice. During rest time I wanted to turn down the air to 60 so I could turn on the fire, light some fall candles and pretend that it wasn’t in the 80’s and muggy as hell. I am SO ready for fall this year.
By the afternoon the kids and I were ready for something more substantial to do so I pulled up my Pinterest boards and made a list of activities I could do with things I had on hand. Gray wasn’t feeling well so an afternoon of projects was perfect. Then when I realized my neighbor/friend was home with her kids too we invited them over to participate! It was a blast and ended with us both making chili, doing dinner together then the kids watched a movie while we played cards as adults. I couldn’t have asked for a better Friday at home!
I have a TON of photos but the things we did were so fun I took a lot!
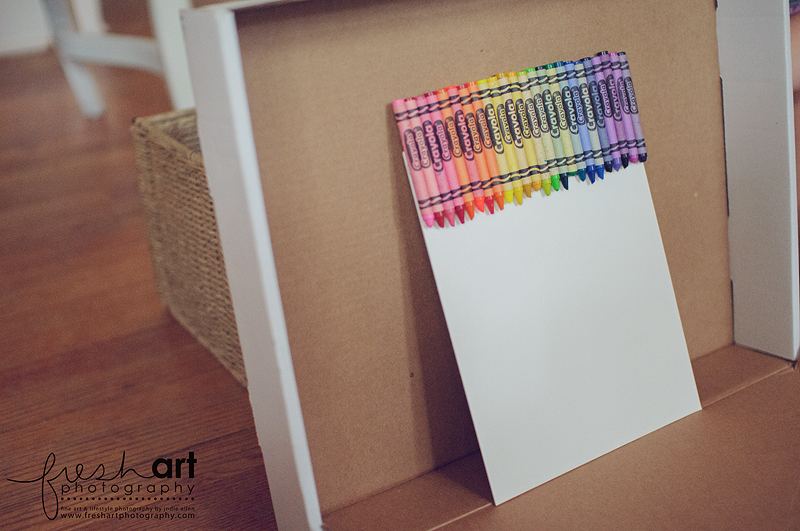
We started with this project that I’m sure you’ve seen ALL over Pinterest! There are so many out there I have no idea who’s idea it was first so I’m not going to link to anyone… but know that NONE of the ideas we did were my original ideas!
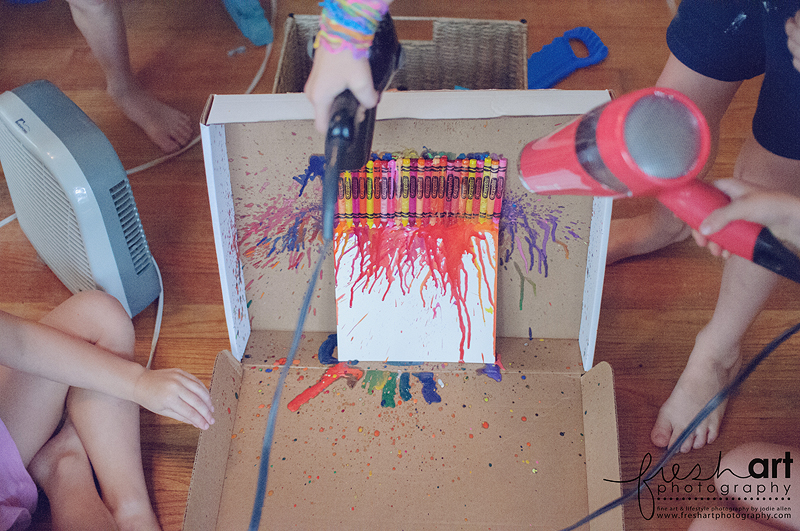
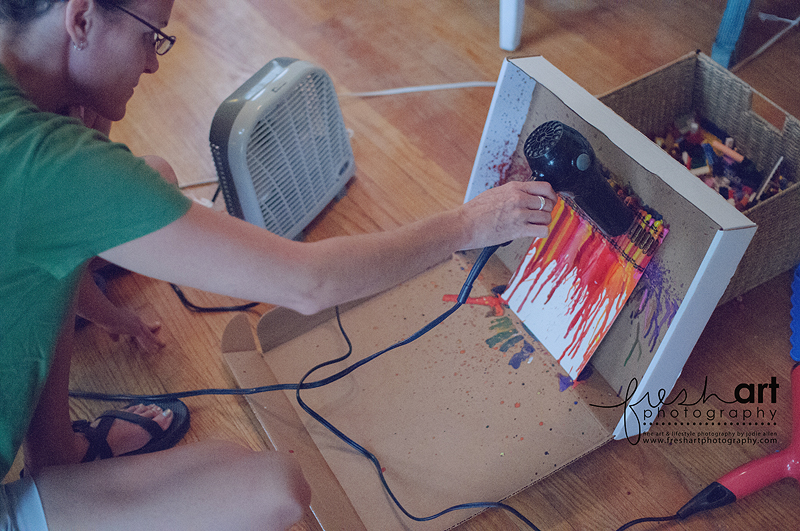
So I had gone to Art Mart and gotten a pack of three matboards that worked great for this because they weren’t so big AND the kids got to do it three times. I just hot glued the crayons down and put them in a box b/c this is MESSY!
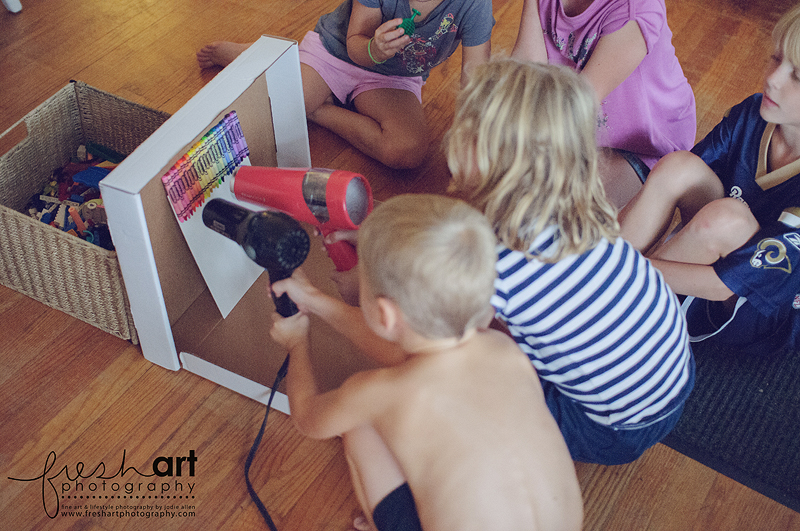
We used two hair dryers so it would go faster.
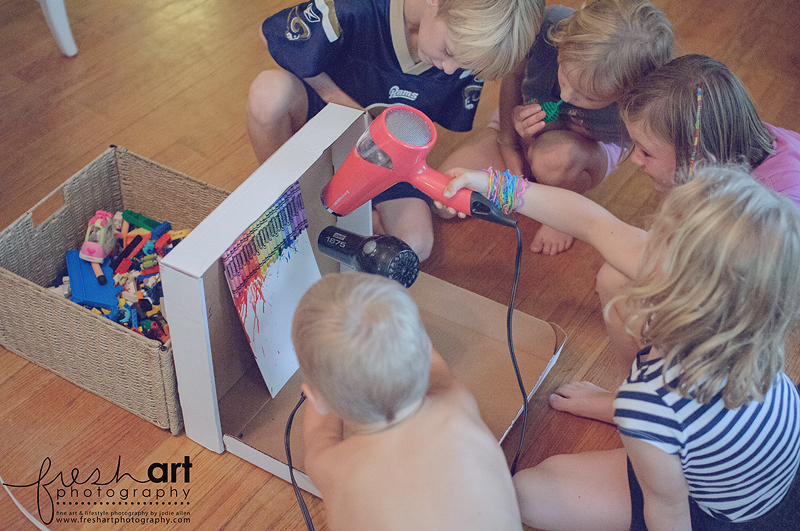
When they first started to melt it was AWESOME to see the kids get so excited!
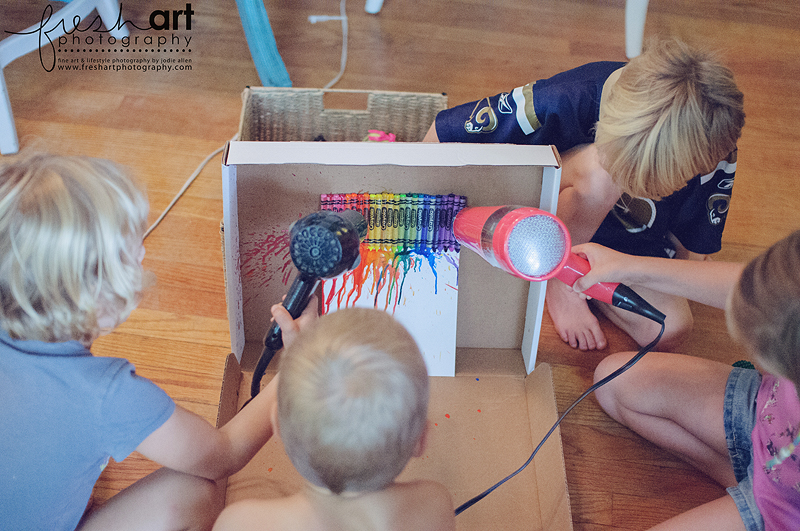
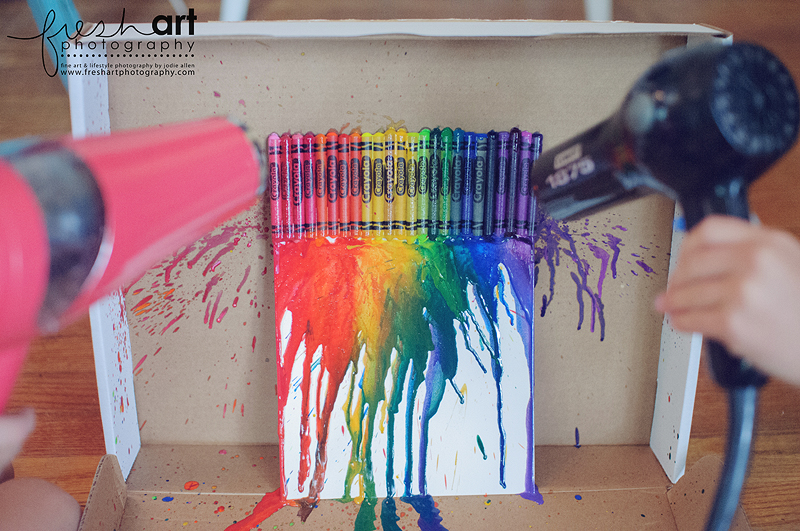
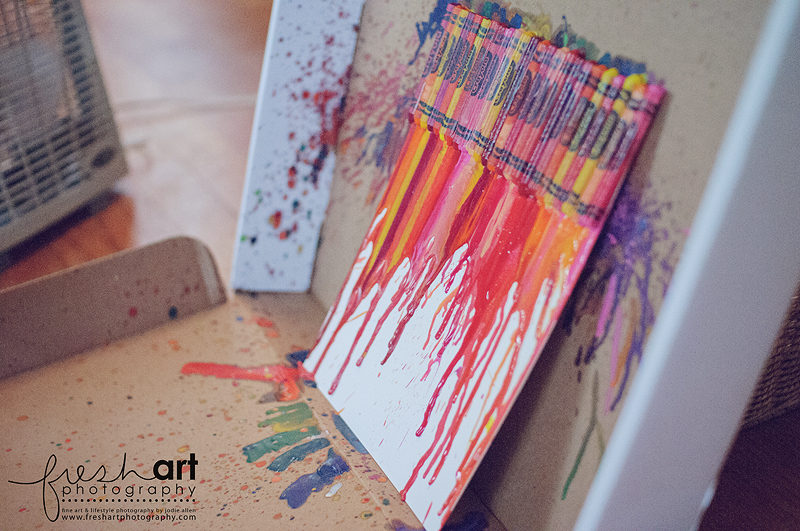
This was our “rainbow” one and I just LOVED the way it turned out! Even as an adult it was fun to watch!
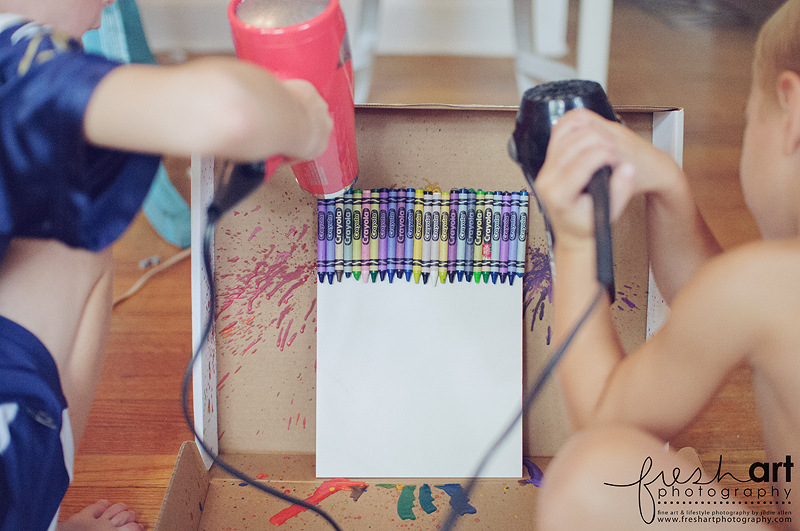
Then we tried more of a monochromatic approach with cool colors and warm colors. I loved this too! And it was fun to talk to the kids about colors and art definitions (at least it was fun for me!).
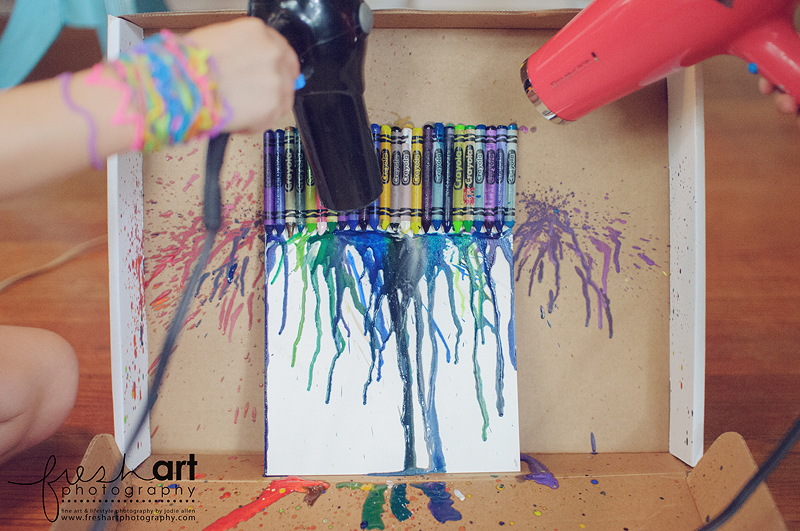
This one ended up looking sort of Halloween-ish!
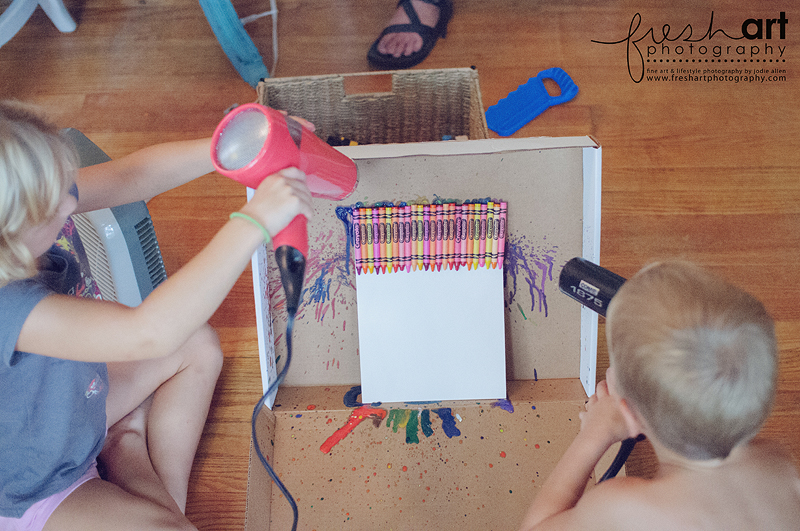
This was my favorite!
It’s on our shelves in the living room right now! I love it!
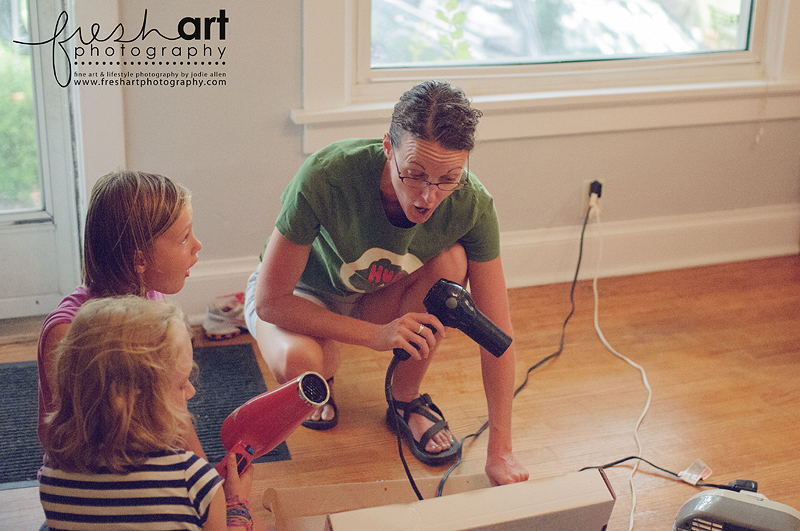
See… totally exciting even for the adults! HA!
Once she was done perfecting the kid’s art project (HA!) we moved on to Ivory Soap exploding! Again, I’ve seen this activity on lots of sites… basically you take a bar of Ivory Soap (ONLY Ivory works apparently) and pop it in the microwave for a little while. It grows and grows! We were so mesmerized I didn’t take any photos so look HERE to see what happens. Then I read somewhere that if you put the “cloud” in a bowl with a little water and some food coloring you can mold your own soaps so after we watched 4 bars of soap grow we made our own soap!
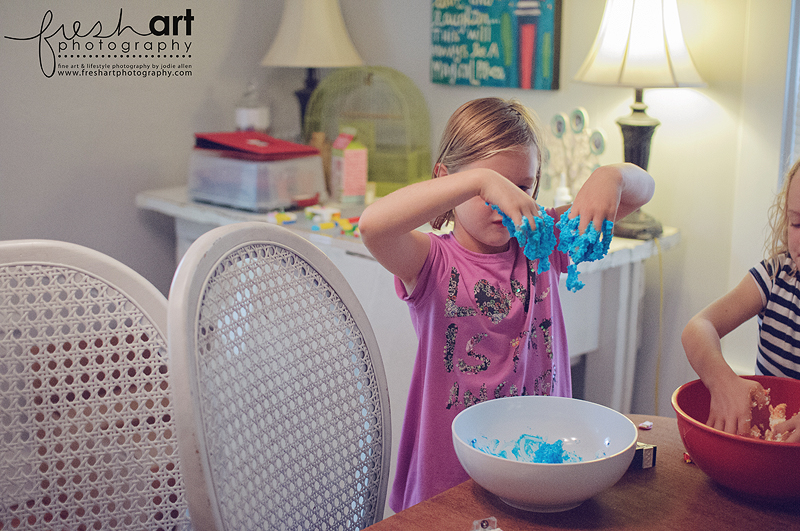
We added a bit too much water to some but it didn’t matter, the kids (most of them) loved this gooey part!
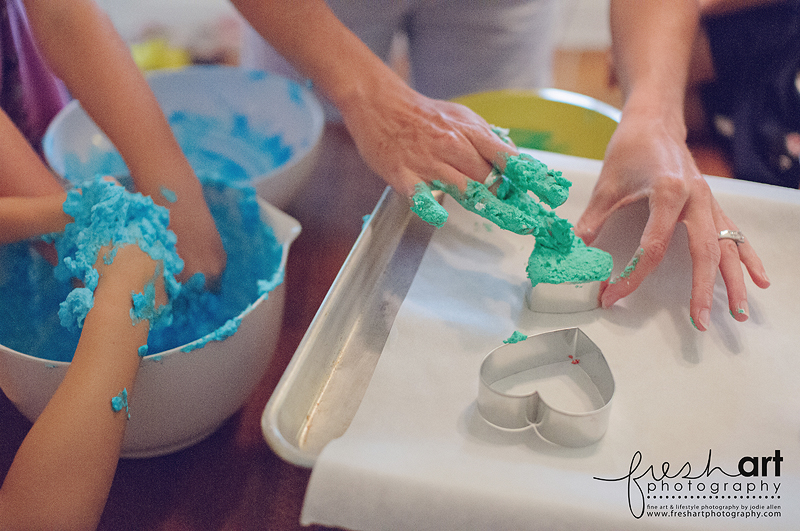
Then I put some parchment paper on a cookie sheet and let them press their new soap into some cookie cutters.
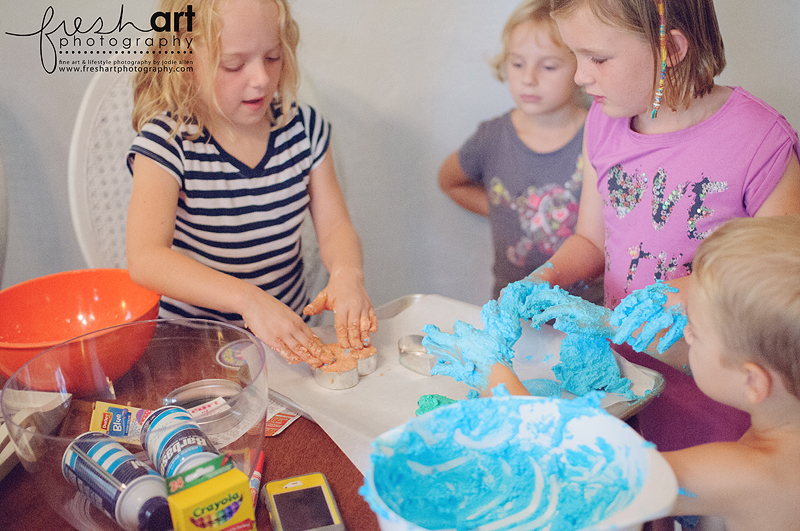
It was a MESS but at the end of the day it’s just soap and clean-up was pretty easy. I will say that when you make the original soap cloud and then let them feel/touch/explore it the soap crumbles into flakes which is best if just vacuumed up! Wiping those flakes just makes a soapy mess so first I vacuumed and then I wiped.
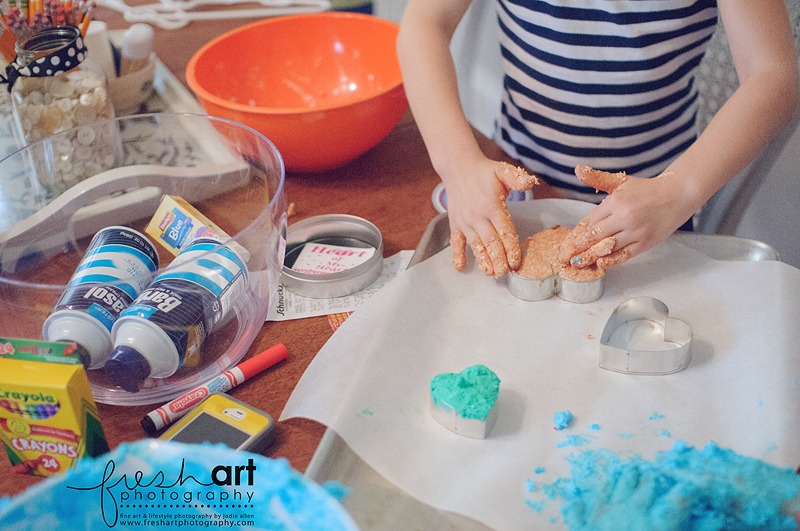
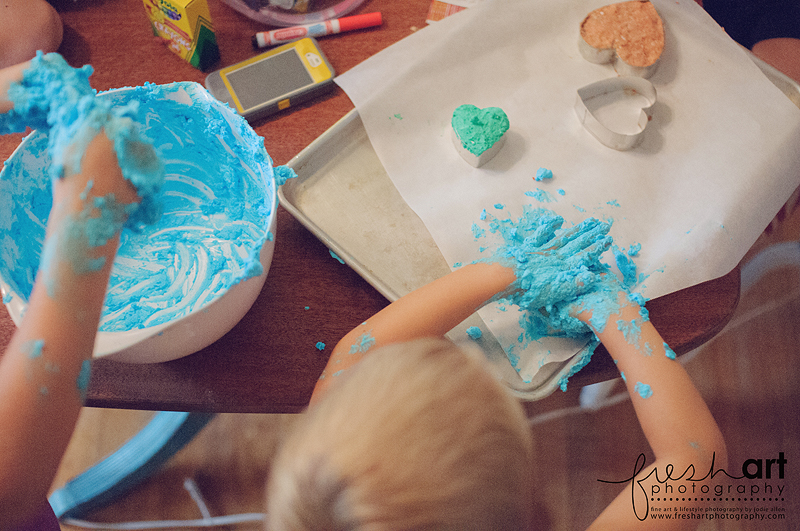
It’s been two days and I would say the soap is still drying! The blue one was pretty wet! I also have no idea if the food dye will be an issue in the tub or not so we’ll either risk it OR the kids will forget about them (since they’re sitting on top of the fridge) and I’ll toss them this week! Whether they work or not the kids had a blast and we will certainly be blowing up Ivory again!
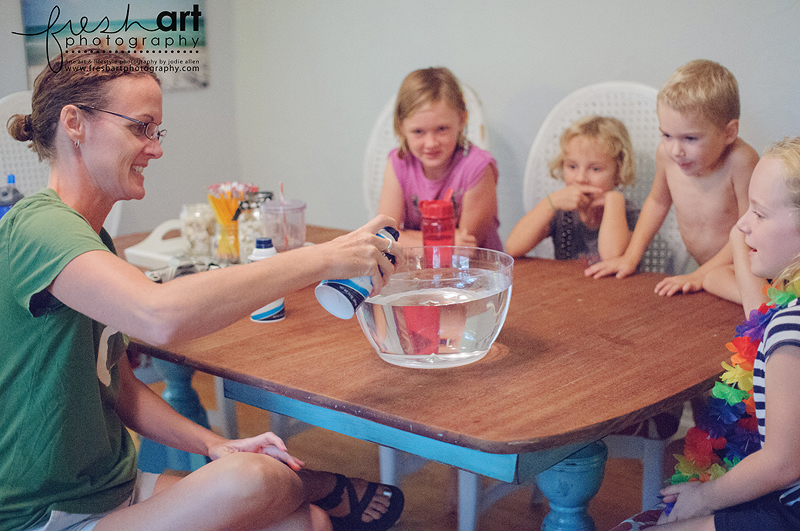
After all of that was cleaned up and we got our chili started we moved on to the next experiment which was PERFECT for the super rainy weather we were having! You start with a clear container (luckily I had my mom’s salad spinner bowl here!) and fill it with water. Then use (cheap) shaving cream to make “clouds” on top of the water. I saw it on Pinterest from HERE. Doing this “cloud” activity right after we made soap clouds was so neat and tied in SO well with the rainy weather!
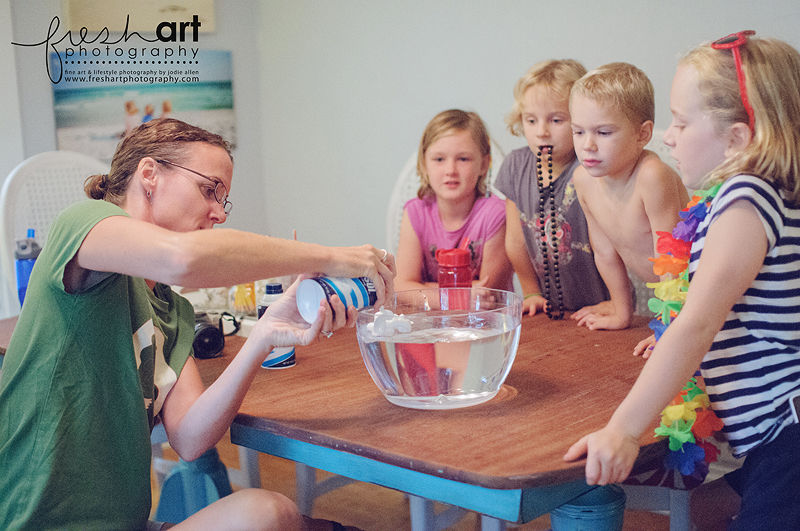
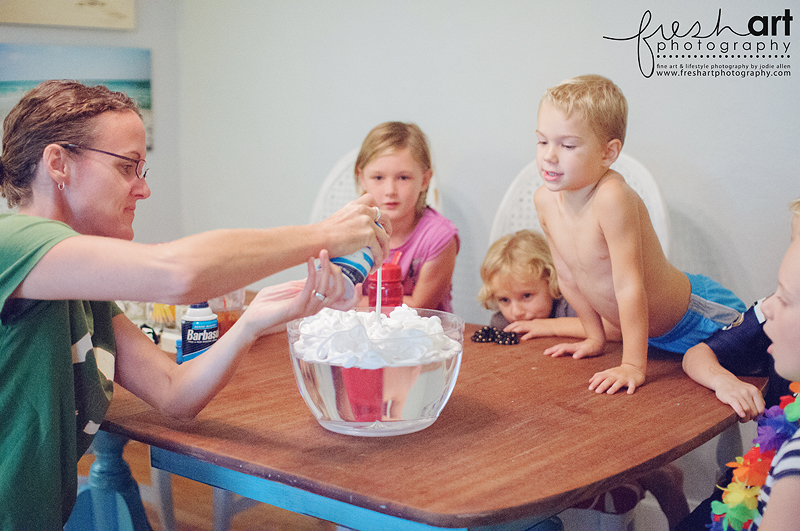
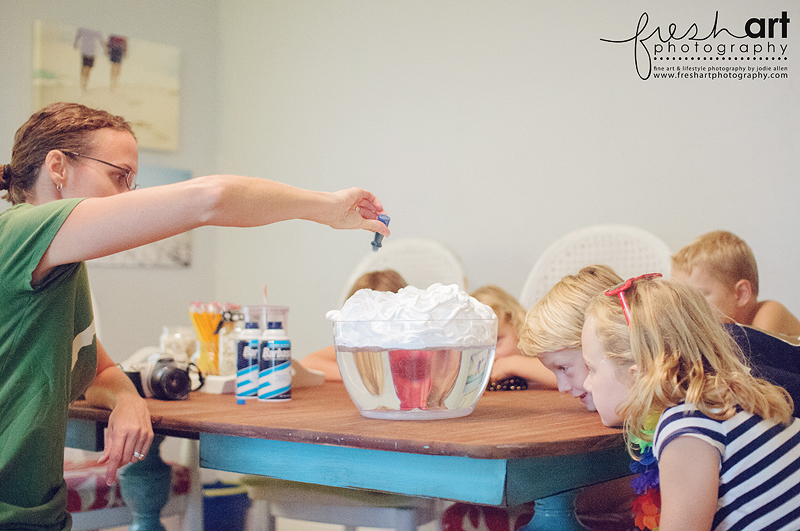
We tried using the normal food coloring droppers at first but after using that ENTIRE bottle nothing had seeped through to the water. Luckily I had run to the store for the shaving cream and grabbed a full bottle of blue coloring… pouring it directly in worked great!
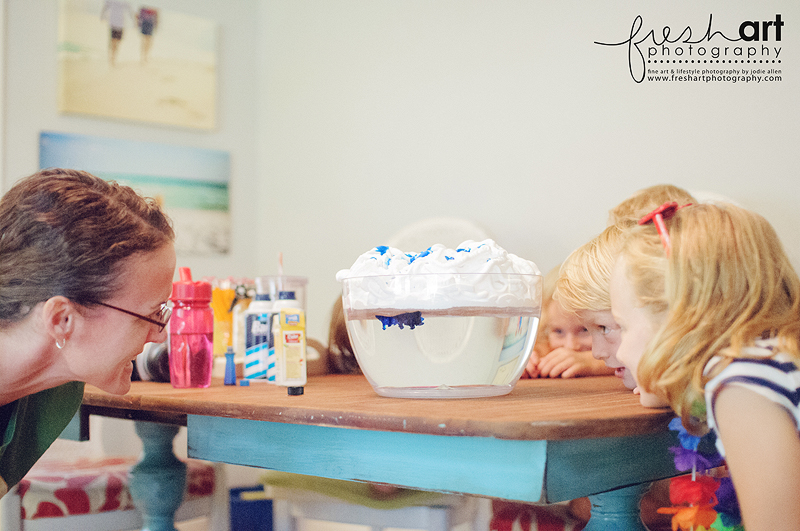
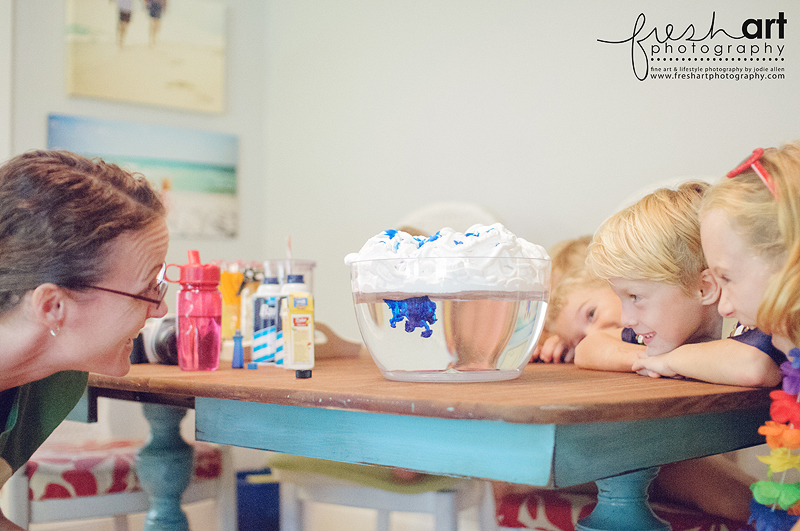
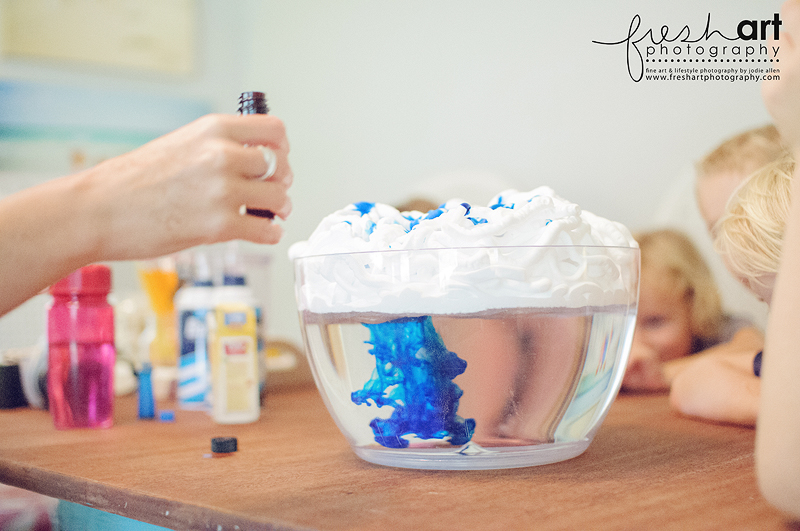
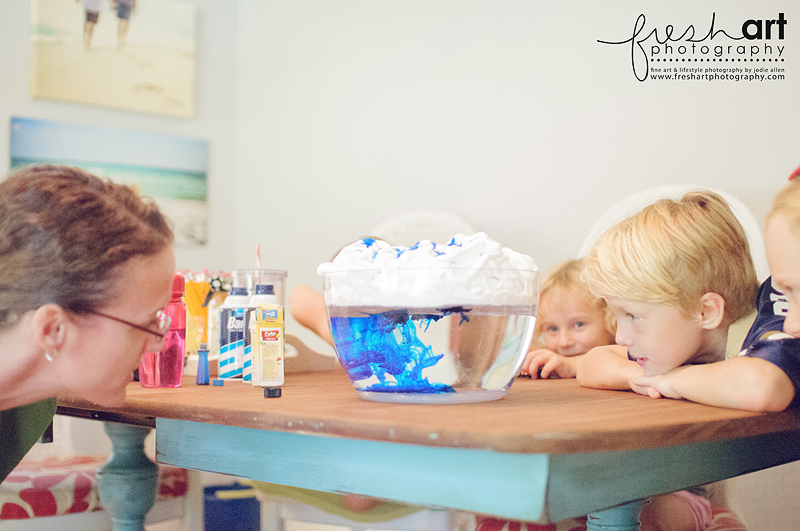
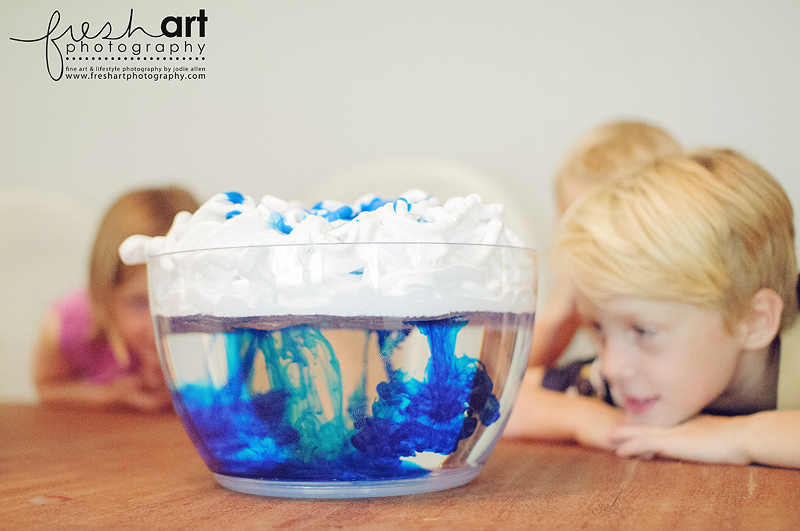
It was really neat to watch! Even better was watching our kids! They LOVED this! Once the color was in there we decided it would have been better with Lego men or something in the bottom getting “rained on” so we tried to drop one in…
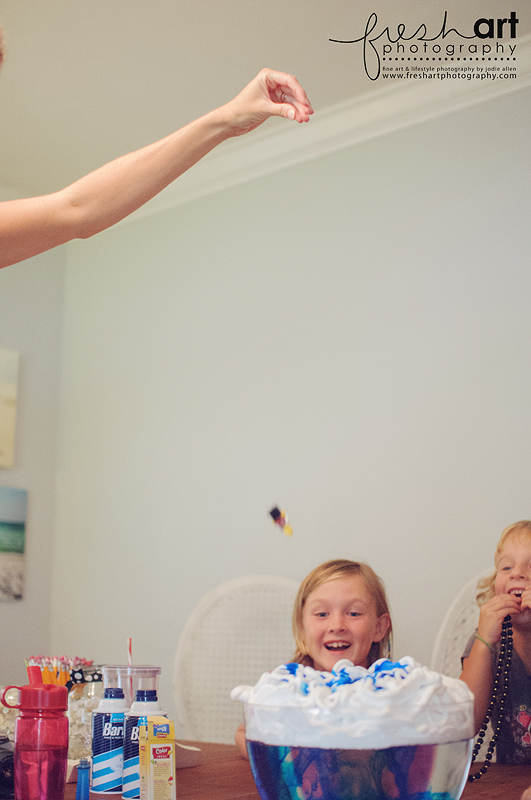
He landed on that white puffy cloud and happily floated. So then the experiment took an ugly turn when everyone tried to find SOMETHING that would sink through the shaving cream which led to a bowl full of random crap and little hands dyed totally blue! It’s why there are no more photos from this b/c one mom and five kids was too much so I put down the camera and went back into clean-up mode!
The LAST thing we did I got from HERE (also found on Pinterest). I’d filed it under “great kid crafts” on my Pinterest board and thought it would be a perfect end to the day. I like experiments but I LOVE art. We talked a little about what a “relief” was and then the kids told me what shapes to cut for them. We used blue painters tape to attach the shape to their paper (the shapes were cut out of card stock but the other paper was just printing paper) and it worked really well.
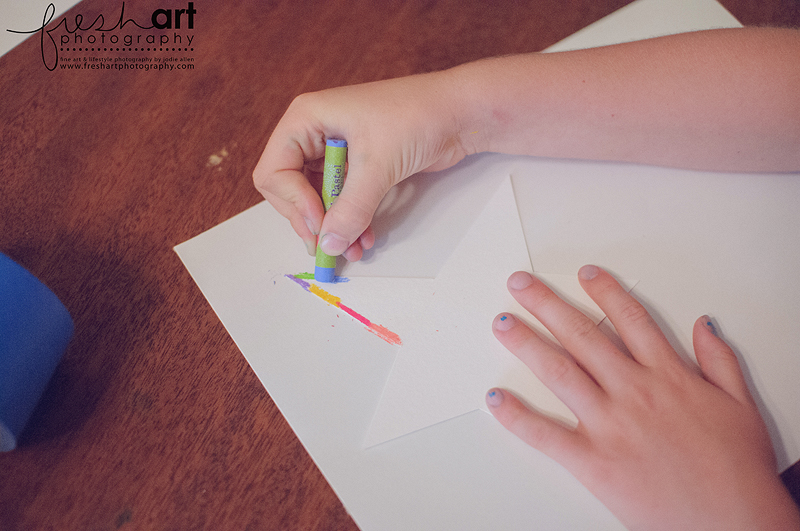
Then you just trace the shape with oil pastels… some kids did dashes like this and other outlined one whole leg of the star with a solid color… I was partial to the dashes! I am usually a stickler for “don’t push too hard and waste the pastel” because they aren’t the cheapest of art supplies but for this you really do have to get a good amount of color in your dashes so you have to push really hard.
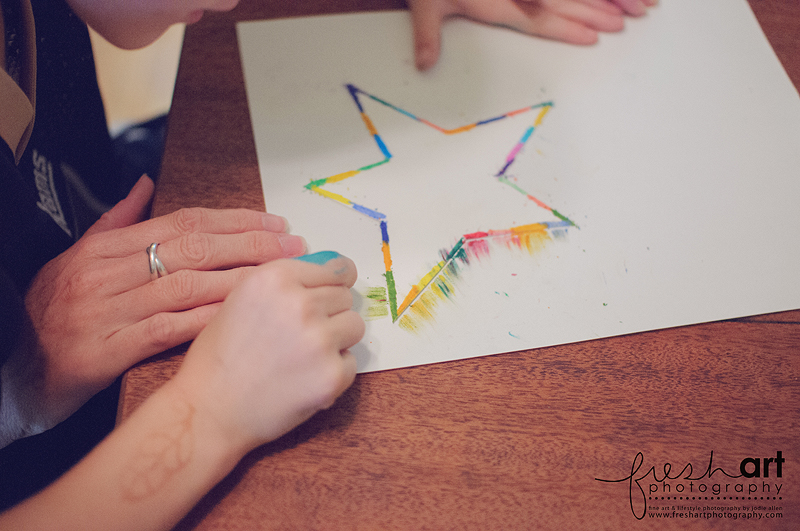
Then with the shape still attached (the dashes are drawn on the SHAPE not the paper underneath) you drag your finger OUT from the shape. This ended up working the best when the adults did the dragging because we’re stronger and our fingers are bigger.
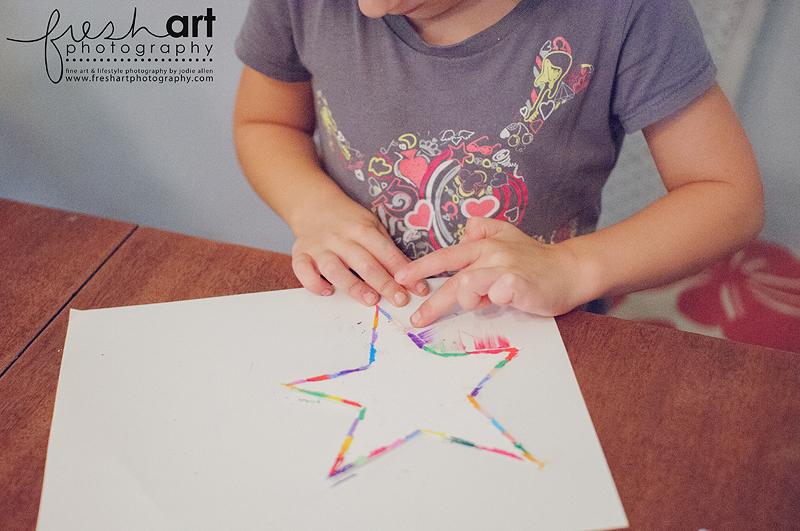
The kids all started their smearing but we ended up doing most of it.
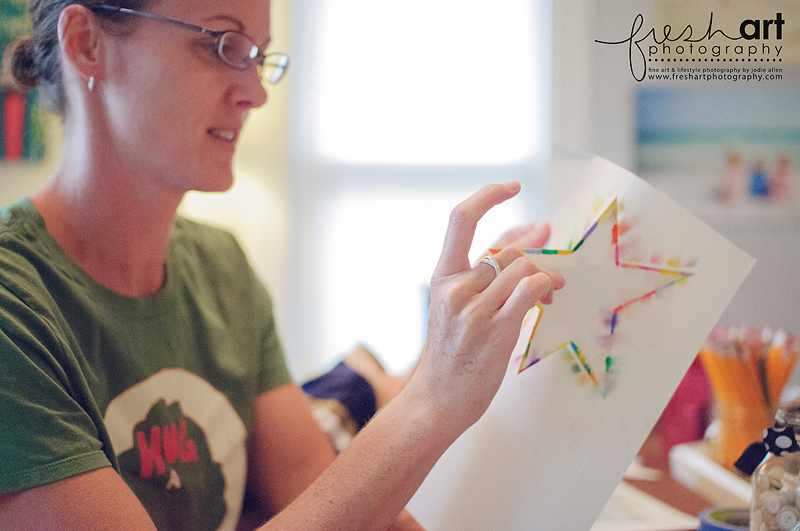
Then you peel off the shape.
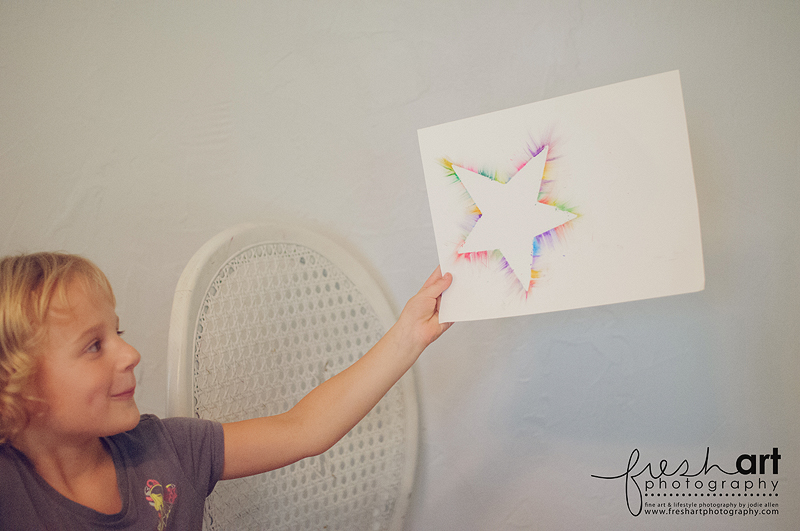
They turned out SO pretty! I really loved this project! And to keep using the same shapes I just would cut off the colored part and make a slightly smaller star/heart/whatever. It worked great!
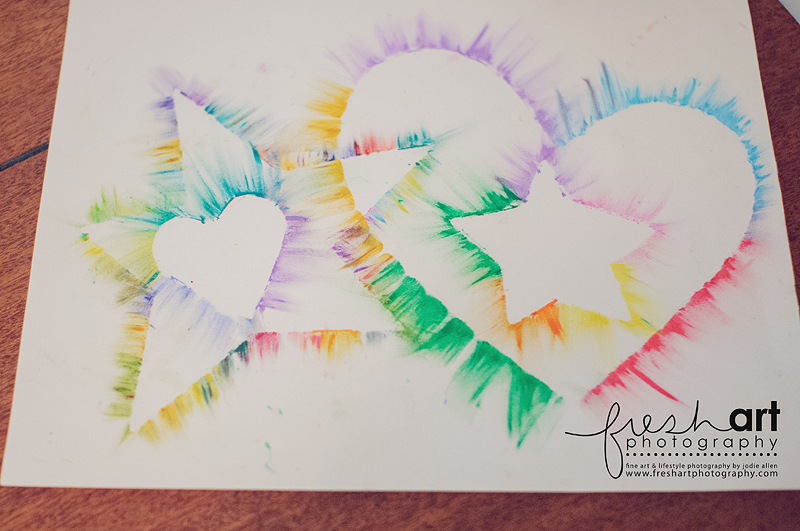
Isn’t that cute? I love it!
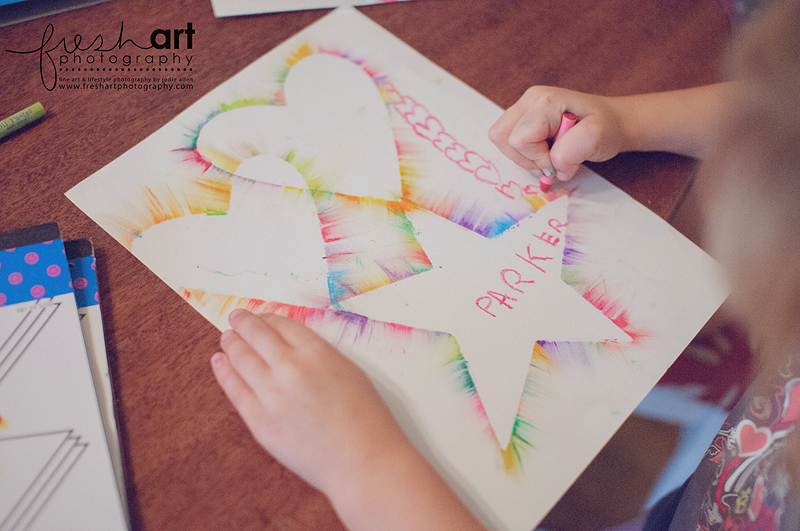
Gray did NOT understand this concept and ended up only wanting to use black. BUT he did stick with coloring for longer than he normally does so I’m counting it as a win!
As we moved through this long rainy afternoon of fun projects it hit me that the days of giving the kids paper, paint brushes and some paint for them to spread around are over. They’re getting bigger and old enough to do actual projects that turn out the way you envision them! It’s hard not to miss the baby days, even the hard parts, but I hope and pray that as a mom I can work to celebrate each new stage my kids move into. I’m really loving this time in our life and all our kids can do or are learning how to do. They’re fun little people to hang out with!
THAT BEING SAID.
By 8pm when we walked back across the street, tossed the kids in the shower and threw them into bed I was TIRED. Cooking and planning and DOING all that we did that day wore me out! Being a really good mom is hard! Thank goodness I strive mostly for mediocrity! HA!
My session today was rained out (that’s two this weekend! Ugh!) so we’ve had a slow family morning, are heading to a cousin’s first birthday party and THEN my parents are taking the kids for the night so we can go out with friends! THANKS MOM! It’s still muggy and rainy and wet but MAN has it been a good weekend! Hope yours is going great too!
